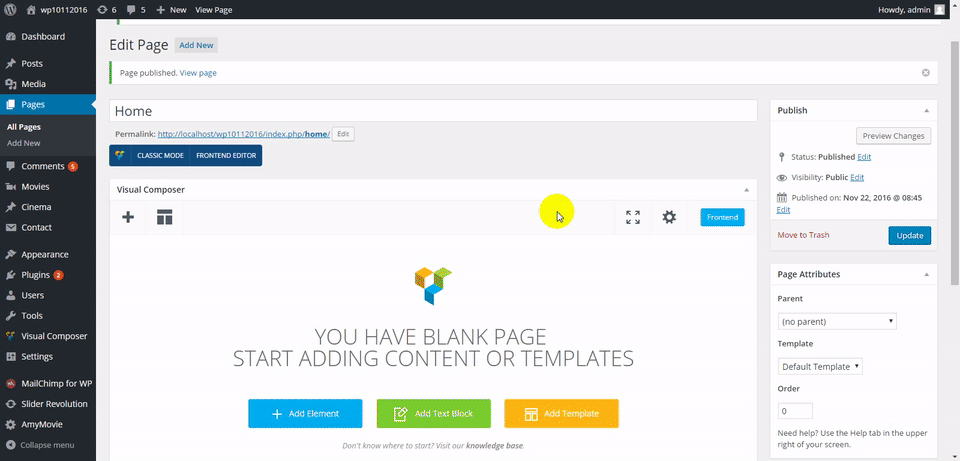
Amy Tabs allows you to easily add and edit your tabs and you can add elements into each tabs as you wish. Follow the steps below to learn how Amy Tabs works
» Step 1: Amy Tabs General setting
At this step, you can learn how to set the position of the tab and choose the active tab
From the green bar => click on button to make general setting on Tab
1.1. General Setting
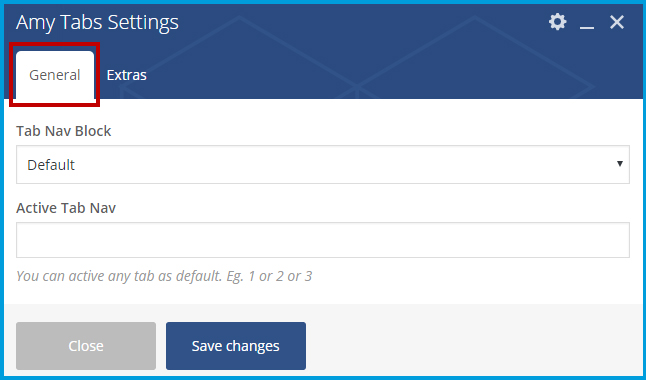
» Tab Nav Block: You can set the position of tab on block. There are two positions: Default (the tabs will be in navigation of the block); Left (the tab will be on the left of the block content)
» Active Tab Nav: You can decide what tab will be active tab (Eg: if you enter 2 for this option, the tab #2 will appear by default). If this box is empty, the tab # 1 will be shown as Active Tab
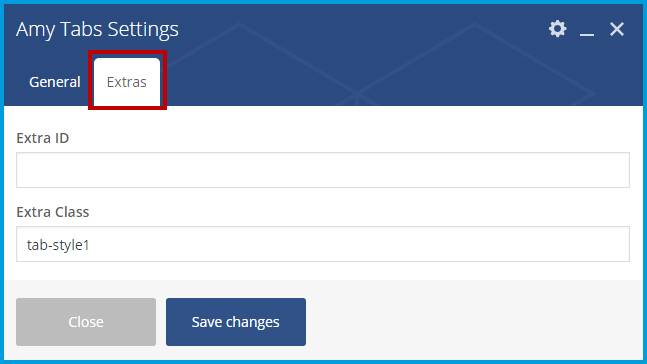
1.2. Extra Setting: This option is optional allows you to add extras ID or extras class for your tabs
» Step 2: Child Tab settings
You can edit tab name or add element into child tabs at yellow bar
2.1. Edit tab name
Click on tab you want to edit => click button at yellow bar , a popup will appear and you can change the tab name as you want

2.2. Add content for each tab
Each tab will show different content. To do this: click on the tab you want to add elements and click Plus icon at the yellow bar to choose elements like the image below

» Step 3: Click Save button to save any your change
Please visit the GIF image below to know about the tab settings.